In this DIY-focused day and age, you probably have come across the neon light phenomenon and are impressed. But why would you have a DIY implement if you can’t control it? Maybe you want a custom time-based on and off switch, or just want to learn how you can dim the lights when you need to. You have come to the right place. This article informs you on how you can use technology at your disposal to play around with your lights.
The technology you’ll need is the Arduino microcontroller, some code, and the curiosity that you already have at the moment. Read on to find out how!
1. Equipment and Software
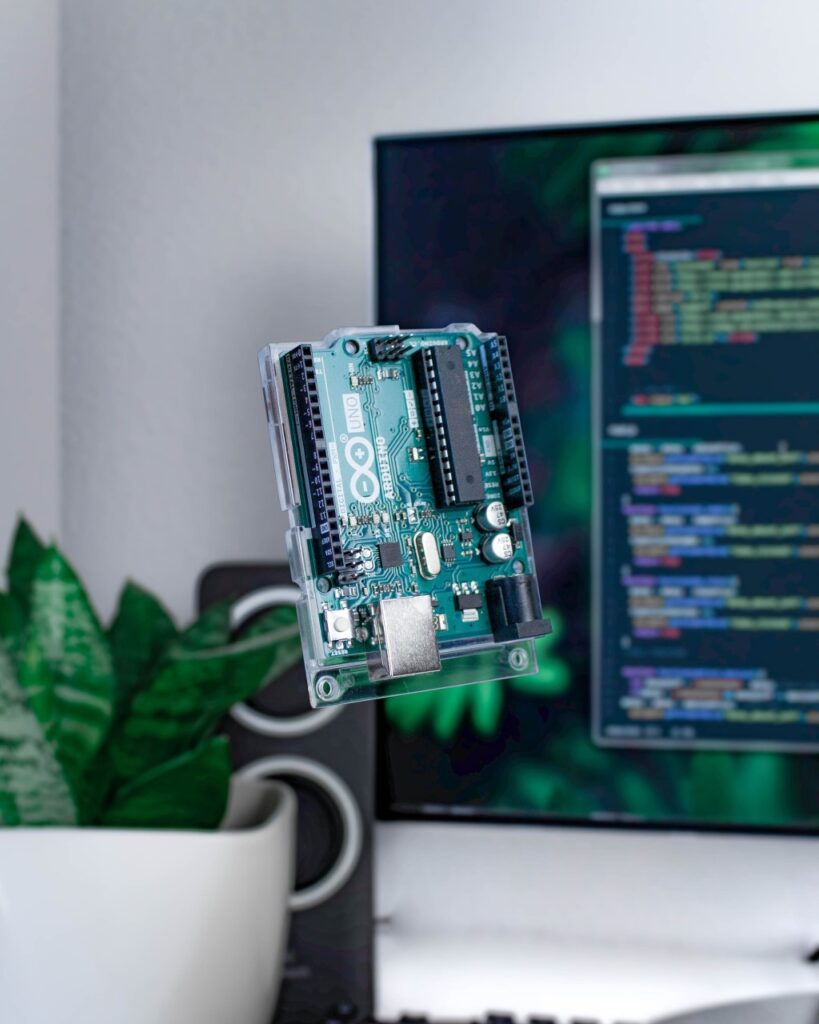
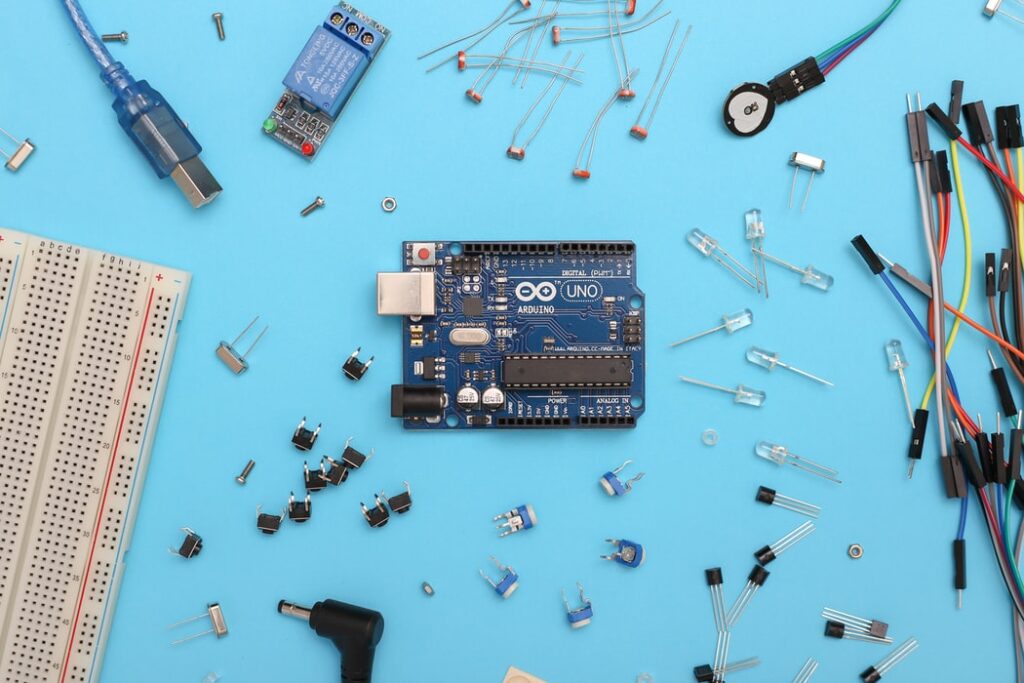
The first two hardware purchases you will need to make are the arduino uno board and some custom neon lights. This is since you will need these two the most for the configuration. Then you will need to buy a transformer, an LED, a USB A/B cable, and a computer (assuming you don’t already own one).
After which you should download the Arduino software onto your computer; ensure the standard firmata library is installed on there. Also, include the following installations on your laptop; Node js, libraries; the Johnny-five library, and a text editor.
2. Custom Neon Light Set-up
You can skip this step if your lighting is already connected to the transformer. If this isn’t the case, double-check that the light is correctly connected to the power source. Be creative with the set-up, however, do avoid being creative with the setup powering.
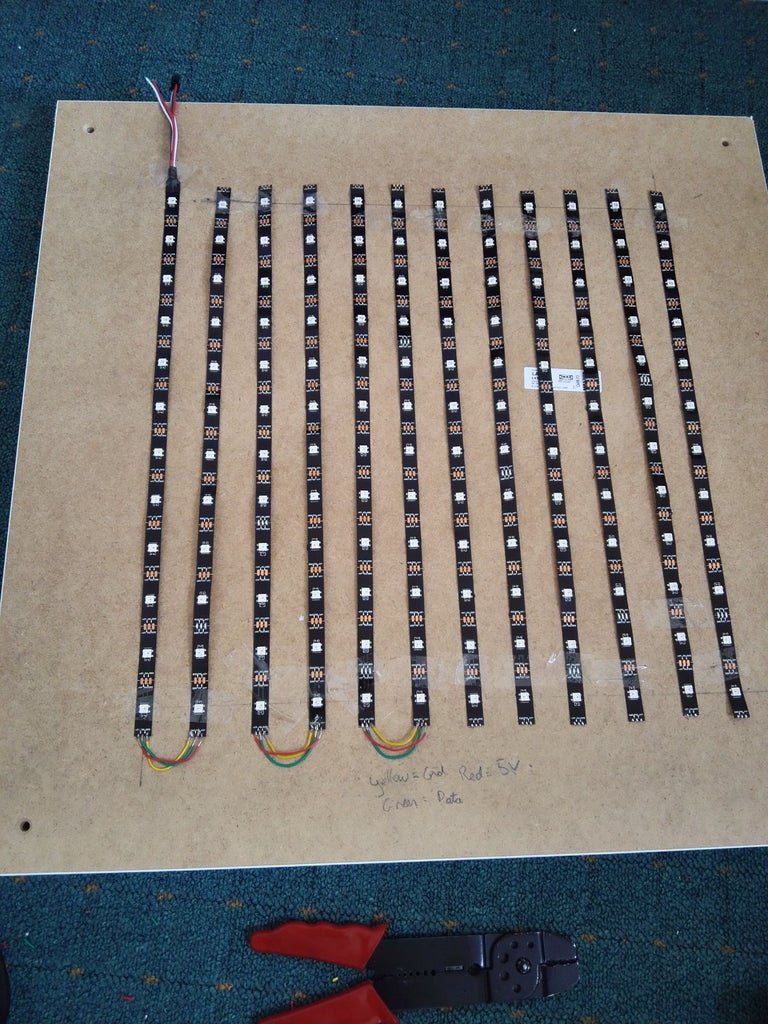
Both ends of your neon light should have cords. Each of the thicker cables coming from the transformer must be connected to these cables. Each thick cable should be entwined with one end of the neon light. This is where you must use extreme caution! While you’re connecting the cables, be sure your transformer isn’t powered.
3. Arduino Hardware/Software Set-up
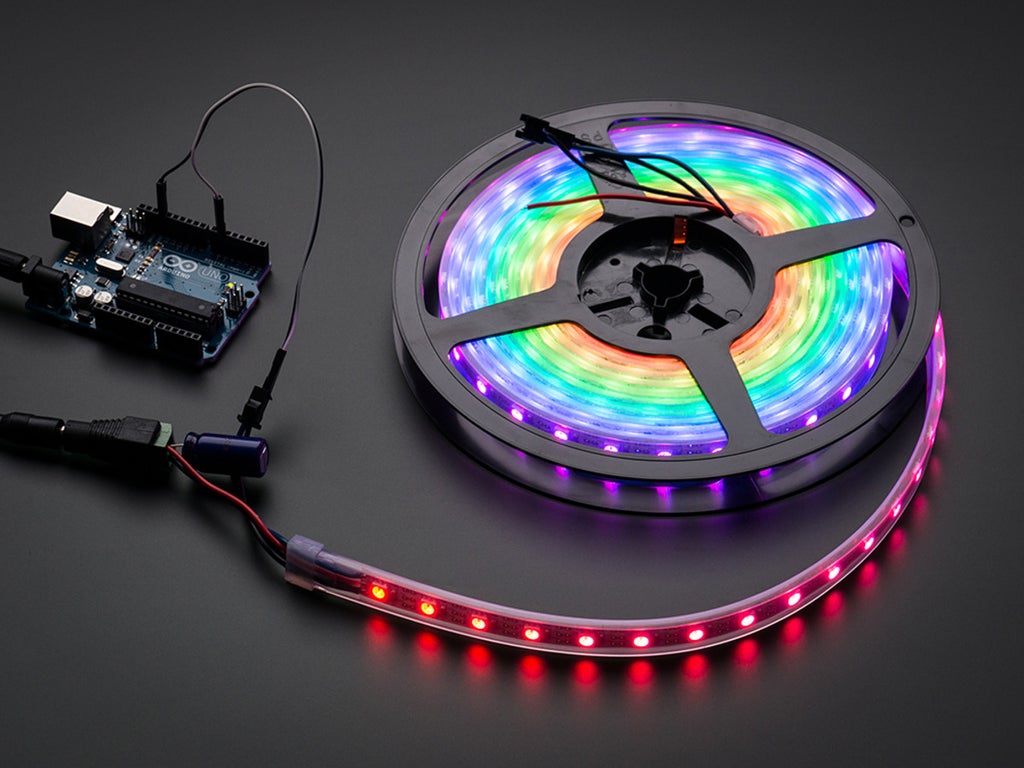
Almost anything you can do with an LED can be done with a neon light, according to the basic rule of neon lights and Arduinos. So the first thing we’ll need to do is check our Arduino via the Johnny-Five interface using our LED to make sure it’s working properly. Please ensure the cathode side (longer leg) of your LED is connected into pin 11 and the ground side (shorter leg) is connected into the ground pin. Attach your Arduino to the laptop using the USB A/B cable.
4. Arduino Test

Now we’ll check to see if our Arduino is compatible with the Johnny-Five platform. Copy the hello world code for a pulsing LED from the Johnny-Five website into your text editor. Name the file “led-pulse.js” and save it.
Using your terminal navigate to the folder where you saved the code, type “node led-pulse.js,” then hit the “enter” key to start it. The LED should be pulsing. Achievement! (If you get an error message, double-check that you’re in the correct folder, that the LED is connected properly, your computer recognizes the port that your Arduino is attached to, and that node.js is up to date.) Check the docs for both libraries if it doesn’t work.
5. Writing the Actual Code

We can now tweak our code to make it a little more difficult now that we know everything works. We want to have a program that will connect to our LED. As an example, we can try writing a code that would allow us to be able to hit a key (1, 2, or 3) to control whether our light is on, off, or pulsing when we run our code through the terminal.
You could try online resources to learn more and find a way of getting the lights to do as mentioned above. However, just to motivate you, here’s some code that would do just that, save it onto your laptop as “neon_diy.js” (you can modify it to suit your particular needs). Or even find another program you can work on using this setup.
6. Connecting with the Lights
We can attach our transformer to the microcontroller now that our neon light is connected to it. Modern transformers include two smaller cables, one for ground (typically black or brown) and another for power (typically black or brown) (usually red). We can treat these the same way we would the LED’s legs: The ground should be connected to the Arduino’s ground pin, and the power should be connected to pin 11.
Please ensure your laptop and Arduino are both connected using a USB A/B connector.
7. Running the Code

Everything should be ready to go at this point. Your computer is linked to the Arduino, which in turn is linked to the transformer, which in turn is linked to the light. Connect the other end of your transformer to an outlet.
Return to the terminal. Make sure you’re in the directory where your file was stored. Press enter after typing “node neon_diy.js.” A screen should appear prompting you to press keys 1, 2, or 3 depending on the result you want to see. Type 3 and wait a minute, and you’re done! You should have a neon light that blinks! And if you get an error code even better! You get to learn how to debug code early enough.
Conclusion
At first, you may have viewed this mini-project as very daunting, but now that you are at this point, you probably feel challenged to try out more. That’s amazing, go to “the google university” and find other exciting things to do with your arduino. You can even give commands to your TV! The better the DIY project, the more challenging it will be, and the better you will feel after completing it. Good luck!
Image sources:
- https://www.pinterest.com/pin/631559547742994704/
- https://unsplash.com/photos/PlGxLYGhIDg
- https://www.pinterest.com/pin/829717931320315688/
- https://unsplash.com/photos/owjrvbyXYyc
- https://unsplash.com/photos/ozDyUaQY0Ww
- https://unsplash.com/photos/f5pTwLHCsAg
- https://unsplash.com/photos/lbqLxgvLt0U
- https://unsplash.com/photos/ZS67i1HLllo