Introduction:
Do you wonder how to download photos from iPhone to your laptop in the easiest method possible?
If you’re reading this article, it’s likely that you do. There are a lot of reasons to want to download photos from iPhone — to create a backup, free up some space in your iPhone, or for storage issues.
There are a number of different methods regarding how to transfer photos from iPhone to laptop, both Windows and Mac.
In this article, we’ll give you a detailed overview of how to download photos from iPhone in a safe and secure manner.
PART 1: How to Download Photos from iPhone using dr.fone – Transfer?
dr.fone – Transfer is a third party toolkit developed by the world’s leading technology enterprise Wondershare. It has a wide range of features and it can be used to download photos, music, and other media from iPhone and into your computer within a few short minutes.
dr.fone – Transfer
- Can transfer photos from iPhone to Laptop.
- Can transfer photos from iPhone to computer.
- Can also transfer photos from computer to iPhone with a single click.
- In addition to photos, can also transfer music, contacts, SMS, and other data.
- Compatible with iPhone XS, iPhone XS Max, and all other iPhone models.
- Compatible with all iOS versions and all Windows and Mac OS versions.
- Can also transfer photos to and from Android phones.
How to download photos from iPhone?
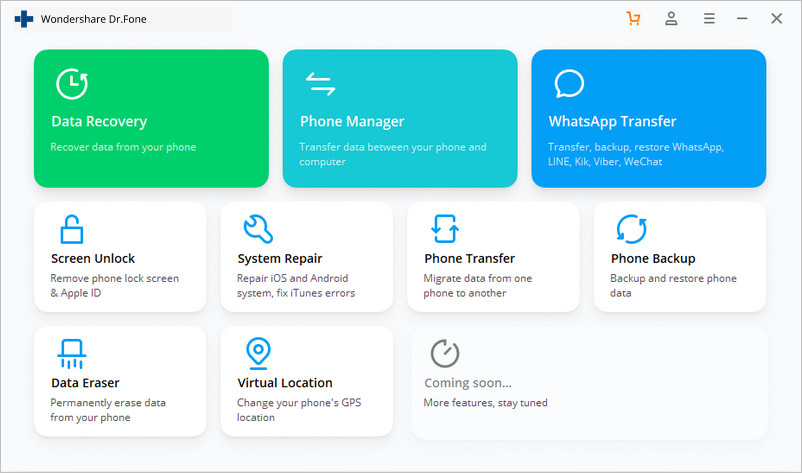
- Download, install, and launch the dr.fone application.
- From the main menu, select the ‘Transfer’ icon.
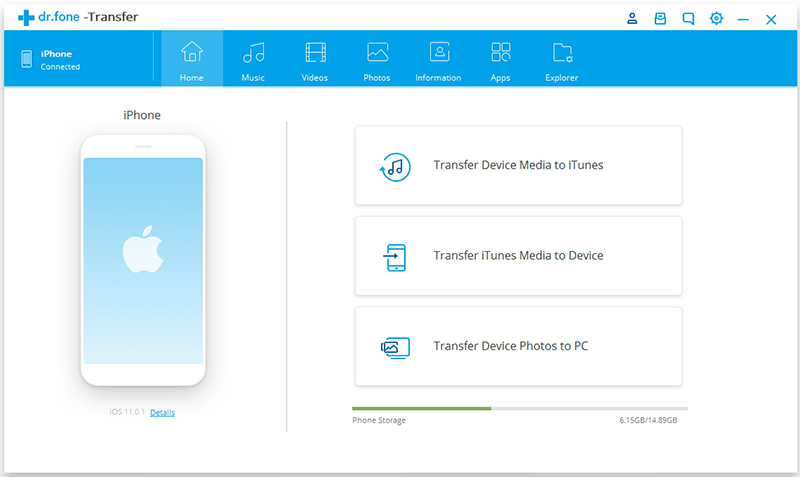
- Connect your iPhone to the computer with a cable. In the next screen, click on ‘Transfer Device Photos to PC’.
- From the toolbar at the top, select the ‘Photos’ option. Now select all the pictures and media files that you want to transfer to the computer and click on ‘Export to PC’. Select the destination folder and they’ll get saved.
This is the most straightforward and simple process regarding how to download photos from iPhone. However, if you want some more options, you can read the solutions in the next parts.
PART 2: How to Transfer Photos from iPhone to Laptop (Windows)?
Do you want to learn how to download photos from iPhone to Windows laptop specifically? You can do so using Windows AutoPlay using the following steps:
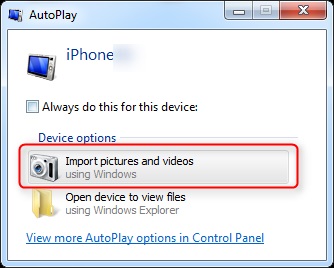
- Connect your iPhone to the Windows laptop using a data cable.
- The AutoPlay window will pop up. Select the ‘Import Pictures and Videos’ options.
- Wait for the search to complete.
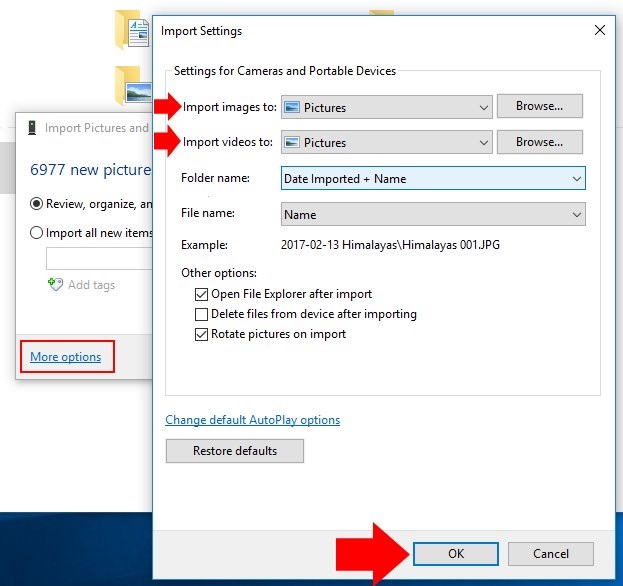
- Select the Import setting and set up a destination for the photos. You can also create a folder name and choose whether you want to delete the pictures from the iPhone after the transfer.
With these steps, you would have transferred photos from iPhone to Windows laptop. However, this method is not entirely recommended because it can lead to data loss. Your iPhone might get auto-formatted or your pictures might be deleted from your iPhone.
PART 3: How to Transfer Photos from iPhone to Laptop (Mac)?
There are two methods to download photos from iPhone to Mac computer — using iPhoto and using iCloud. In this part, we’ll show you how to download photos from iPhone using both methods.
How to download photos from iPhone to Mac using iPhoto?
- Connect iPhone to Mac using a data cable.
- iPhoto will launch automatically. If not, access the iPhoto app manually.
- Go to the My Devices tab and select all the photos you want to download.
- Click on Import Selected, choose a destination, and download photos from iPhone to Mac.

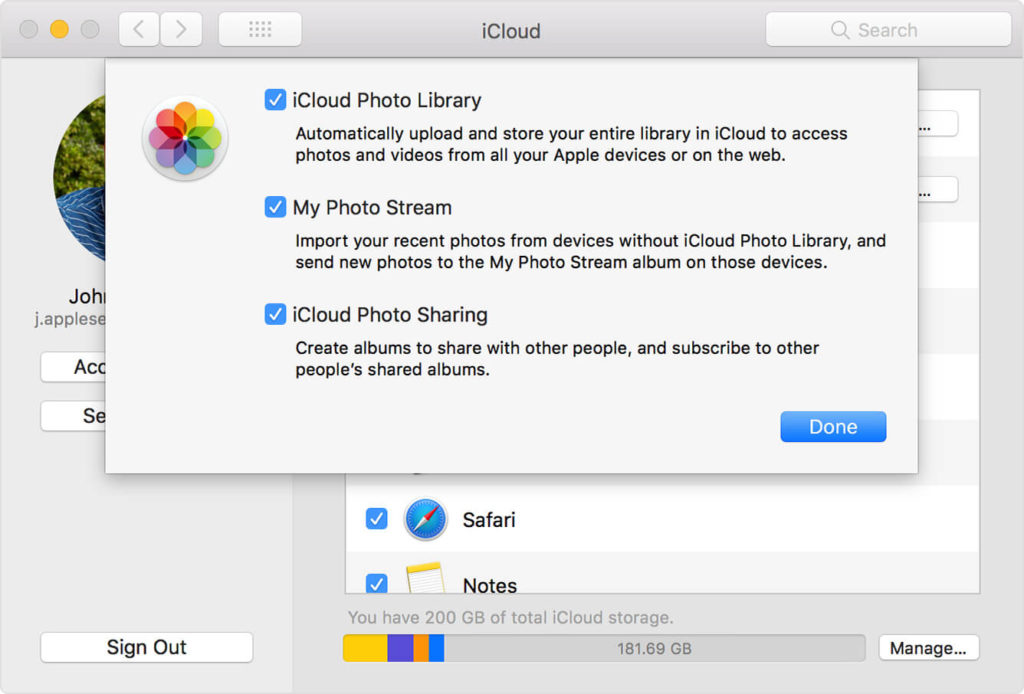
How to download photos from iPhone to Mac using iCloud?
- In your iPhone, go to Settings → iCloud → Photo Stream. Turn the Toggle switch On.
- Go to www.icloud.com. Log in with your Apple ID and Password.
- Go to the Photos folder. You’ll find all your iPhone’s photos in a gallery.
- Select the photos you want to download and click on the Download icon in the menu.
Conclusion:
I hope this article has shown you how to download photos from iPhone without losing any data. dr.fone – Transfer can help you download photos from iPhone to both Mac and Windows computers, without any data loss. Furthermore, it’s a completely reliable and easy process. You can also use the specific methods for Mac or Windows, but they’re a little more complicated and can lead to data loss.
If you have any other questions about how to download photos from iPhone, feel free to let us know.