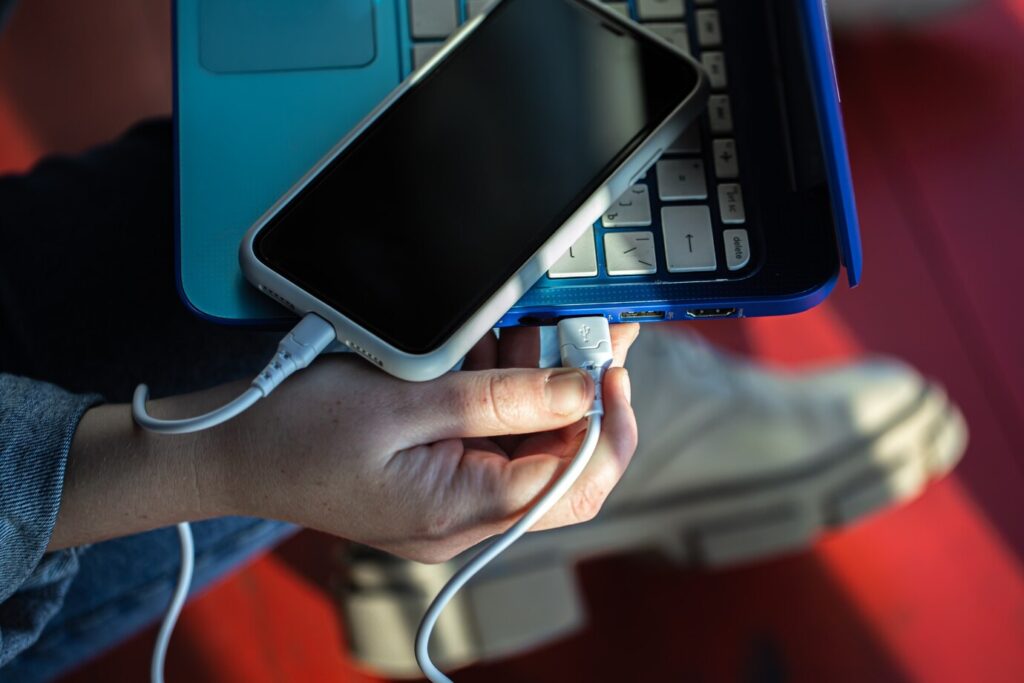
ADB is Android Debug Bridge, and it allows your computer to communicate with your Android device. People tend to use the phone attached to the computer through a USB cable most of the time in order to use ADB. But did you know you can also connect wirelessly over Wi-Fi using ADB over TCP?
This guide will show you how to do that in a simple and clear way.
What is ADB over TCP?
When we say “ADB over TCP”, we’re talking about connecting your Android phone to your computer using your Wi-Fi network instead of a USB cable. TCP is just a type of communication protocol used over networks (like Wi-Fi).
This is super useful if:
- Your USB cable is broken or missing.
- You want to move around freely while still connected.
- You’re testing an app on a device without being tied to a desk.
What You Need Before Starting
Here are a few things you’ll need before setting up ADB over TCP:
- A computer (Windows, Mac, or Linux)
- An Android phone or tablet
- ADB installed on your computer
- Both your phone and your computer connected to the same Wi-Fi network
- A USB cable (just for the first setup step)
- Motorola ADB Driver (if you’re using a Motorola device). For proper communication between your computer and your phone.
Step-by-Step: Connecting ADB Over TCP
Step 1: Install ADB on Your Computer
If you haven’t already installed ADB, here’s how:
You can download it from the official platform.
Extract the folder somewhere easy to find, like your desktop.
To test that it’s working, open a Command Prompt (Windows) or Terminal (Mac/Linux), and type:
adb versionYou should see something like:
Android Debug Bridge version 1.0.41That means ADB is installed properly.
Step 2: Enable Developer Options on Your Android Device
Now, let’s prepare your Android device. You need to turn on Developer Options and enable USB Debugging:
- Open Settings on your phone.
- Scroll down to About Phone.
- Tap Build number 7 times until you see “You are now a developer”
- Once Developer Options is enabled, go back to Settings.
- You should now see Developer Options listed.
- Inside Developer Options, turn on USB Debugging.
If your phone supports Wireless Debugging, you can enable that as well. This will make the process even easier later on.
Step 3: Connect Your Phone via USB
At this point, plug your Android device into your computer using a USB cable.
Now, in your Command Prompt or Terminal, type:
adb devicesYou should see your device listed. If this is your first time using ADB, your phone may ask for permission to allow USB Debugging. Simply tap Allow.
Step 4: Find Your Phone’s IP Address
Next, you’ll need to find your Android phone’s IP address so you can connect over Wi-Fi. Here’s how:
- Go to Settings > Wi-Fi.
- Tap the connected network.
- Look for the IP address (usually something like 192.168.1.xxx).
- Note this down. You’ll need it in a moment.
Step 5: Enable ADB over TCP
With your phone connected via USB and the IP address noted, it’s time to tell your phone to listen for ADB commands over Wi-Fi.
In your Command Prompt or Terminal, type:
adb tcpip 5555You should see a message like this:
restarting in TCP mode port: 5555This means your Android device is now ready to accept ADB commands over the Wi-Fi network using port 5555.
Step 6: Disconnect USB and Connect over Wi-Fi
Now unplug your USB cable. Your phone is no longer connected. Switching to wireless mode!
Back in your Command Prompt or Terminal, type the following, replacing <your-phone-ip> with the IP address you found earlier:
adb connect <your-phone-ip>:5555For example:
adb connect 192.168.1.105:5555You should see:
connected to 192.168.1.105:5555You’re now wirelessly connected to your Android phone via ADB.
Step 7: Use ADB As Usual
Now that you’re connected wirelessly, you can use all of the usual ADB commands, like:
- Install an app: adb install myapp.apk
- View logs: adb logcat
- Open a shell: adb shell
- Transfer files: adb push and adb pull
Troubleshooting Tips
- Phone not showing up with ADB devices? Make sure USB debugging is enabled and you’ve allowed your computer.
- Can’t connect over Wi-Fi? Ensure both devices are on the same Wi-Fi network. Also, some Wi-Fi routers block local connections — try switching to a different network or mobile hotspot.
- Still not working? Reboot both devices and try again.
Conclusion
Working with ADB over TCP is an excellent way to be more unrestricted in your work with your Android device. If you are testing apps, copying files, or executing commands, it gets rid of the inconvenience of having a physical connection by means of a USB cable.
It takes a few minutes to configure, and when you’re done, it’s the same as working with standard ADB, but wireless!