“Can’t connect to this network”, don’t worry we’ve all been there, trying to connect to Wi-Fi and instead of getting online your window 10 hits you with this pop-up. It’s kind of frustrating, I know, everything was working properly and suddenly this message appeared on your window while other devices were connected and working. So what went wrong here?
It’s an error, and this error can be caused by several reasons, maybe a driver got outdated, something is wrong with your saved network settings, or probably the recent system update caused a glitch. But don’t you worry, there are several easy fixes that you can try to get yourself out of this and be back online.
Let’s look at the ways through which we can fix this network problem in our Windows 10.
1. Forget and Reconnect to the Network
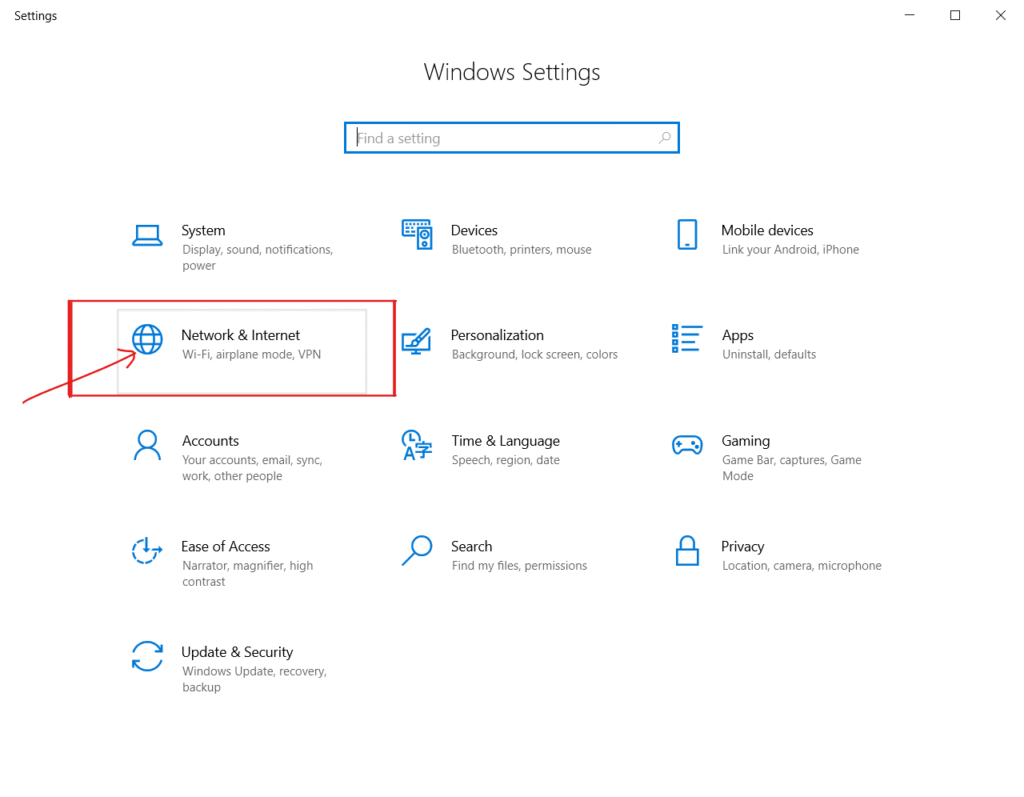
Go to Windows Settings and look for Network and Internet Settings > Network & Internet
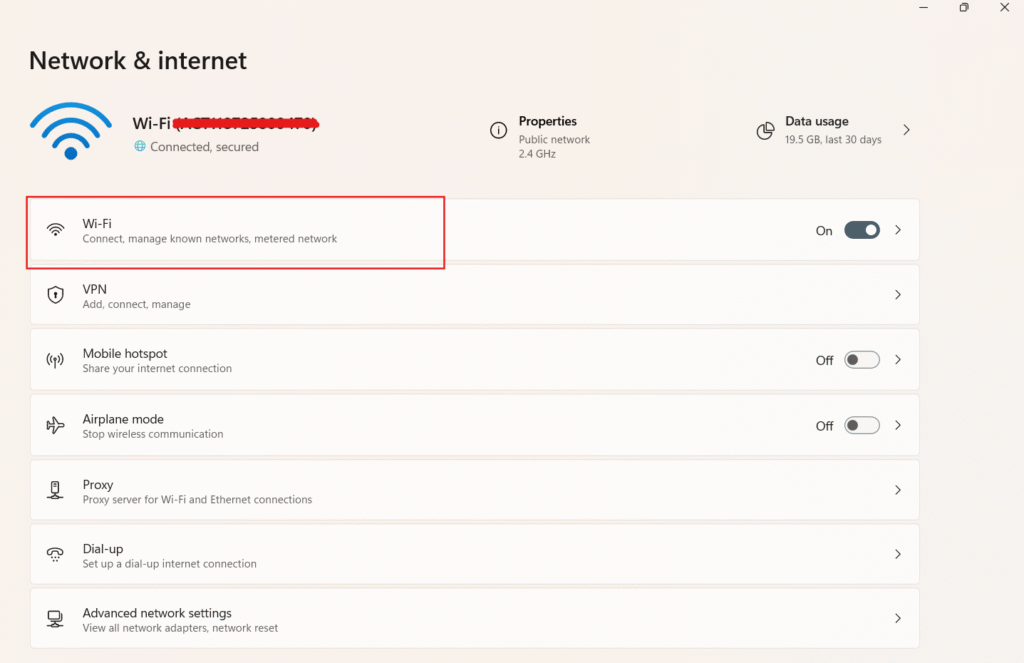
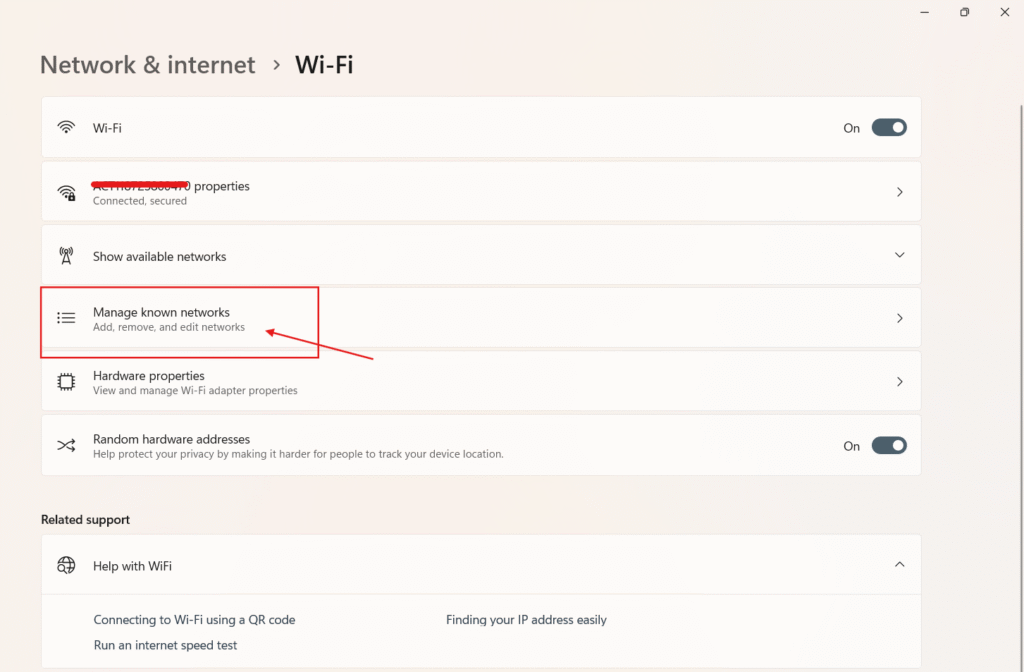
Then go to “Wi-Fi” and click on “Manage Known Networks”.
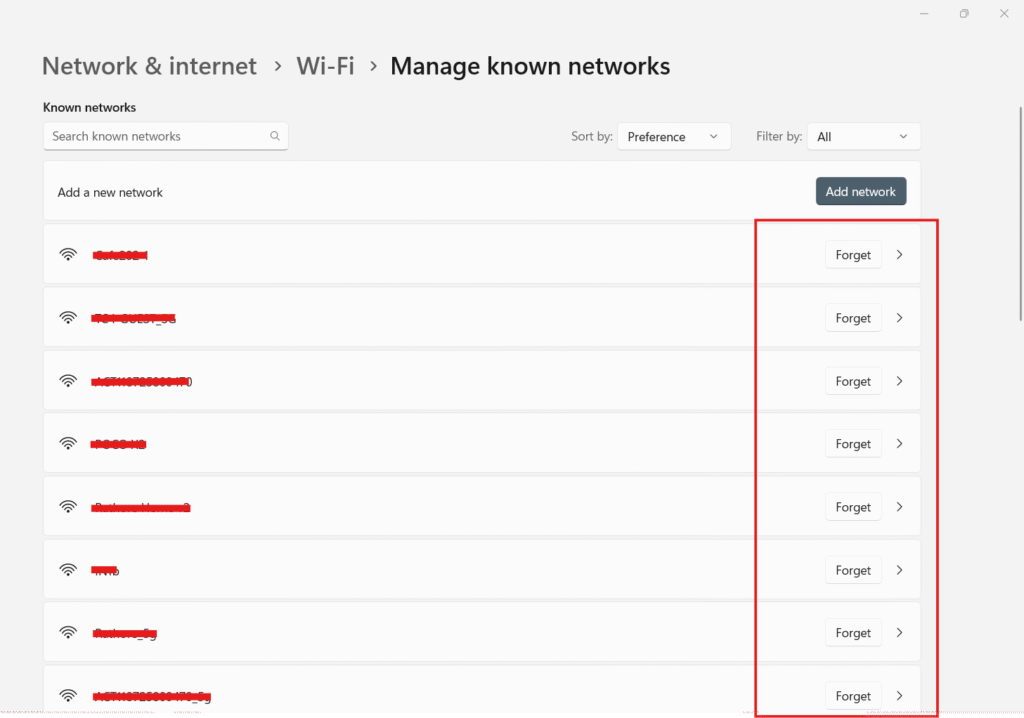
You’ll view all the networks you have ever been connected to, and you can manage your network from here.
Select the network you are connected with or want to connect with and click “Forget”.
Now reconnect with the network you want to connect by entering the Wi-Fi password again.
2. Restart your Router and Computer
A simple restart usually solves many issues, it can also fix temporary connectivity problems.
Turn off your router for at least 30 seconds, then turn it back ON.
Restart your system as well.
3. Update Network Adapter Drivers
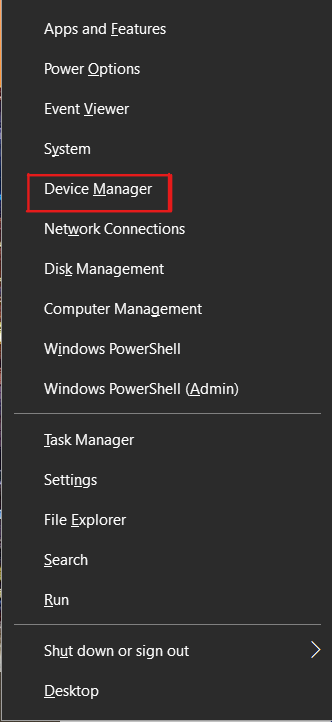
Press Win + X, a tool bar will open, select “Device Manager”.
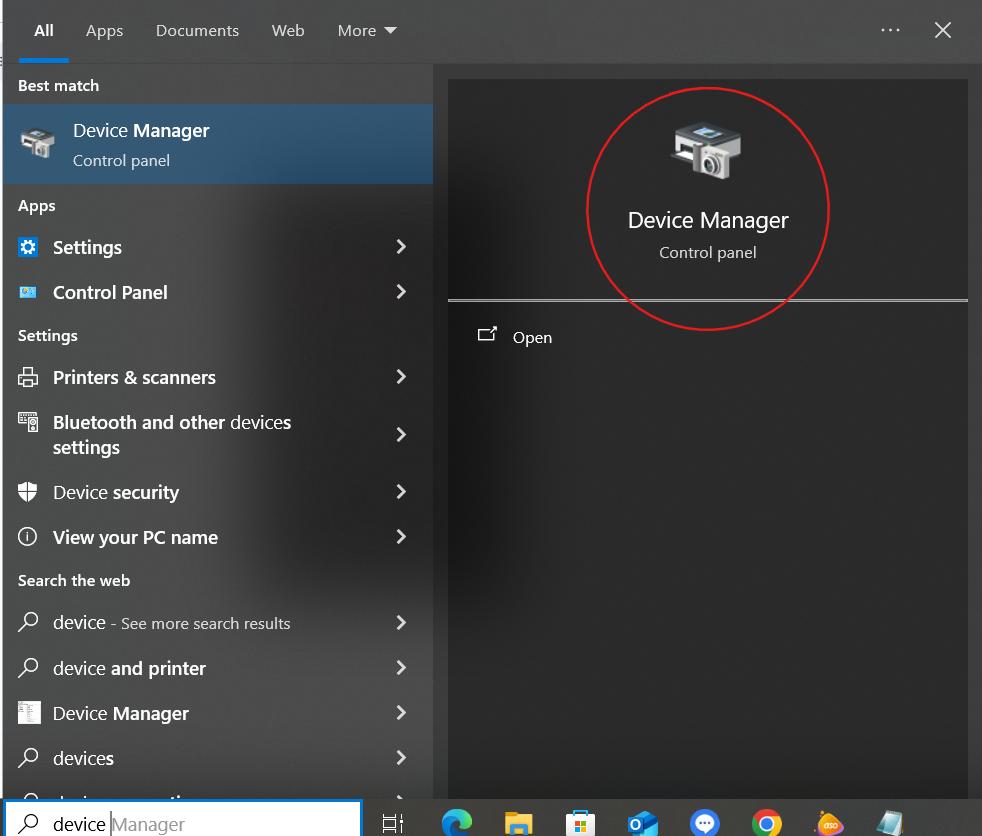
Or search for “Device Manager” from the search bar below.
Look for Network Adapters once you open Device Manager.
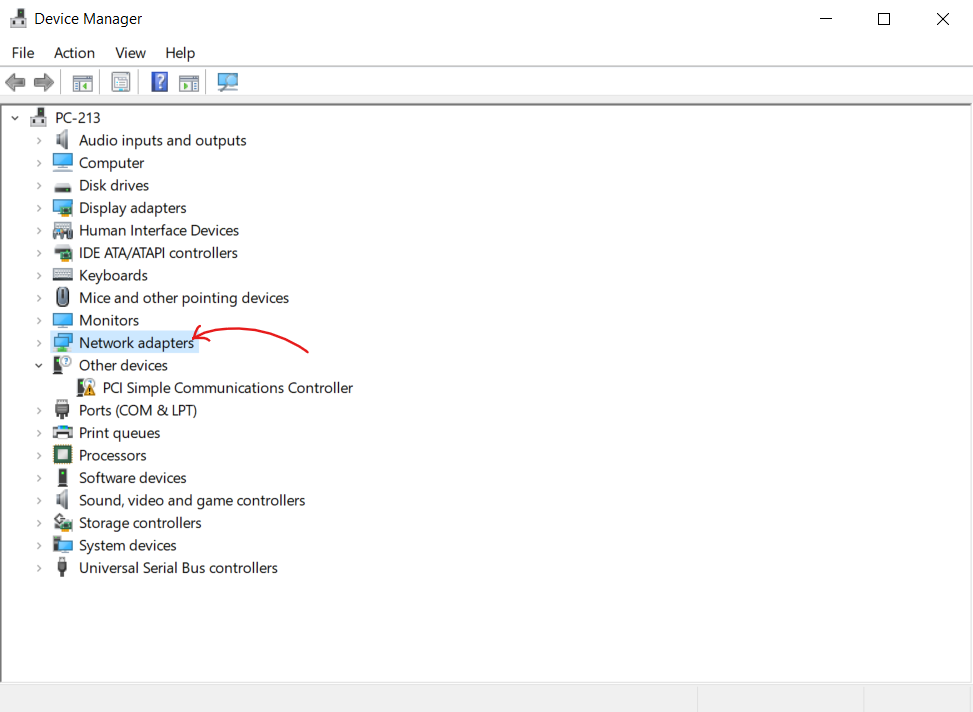
Expand Network Adapters.

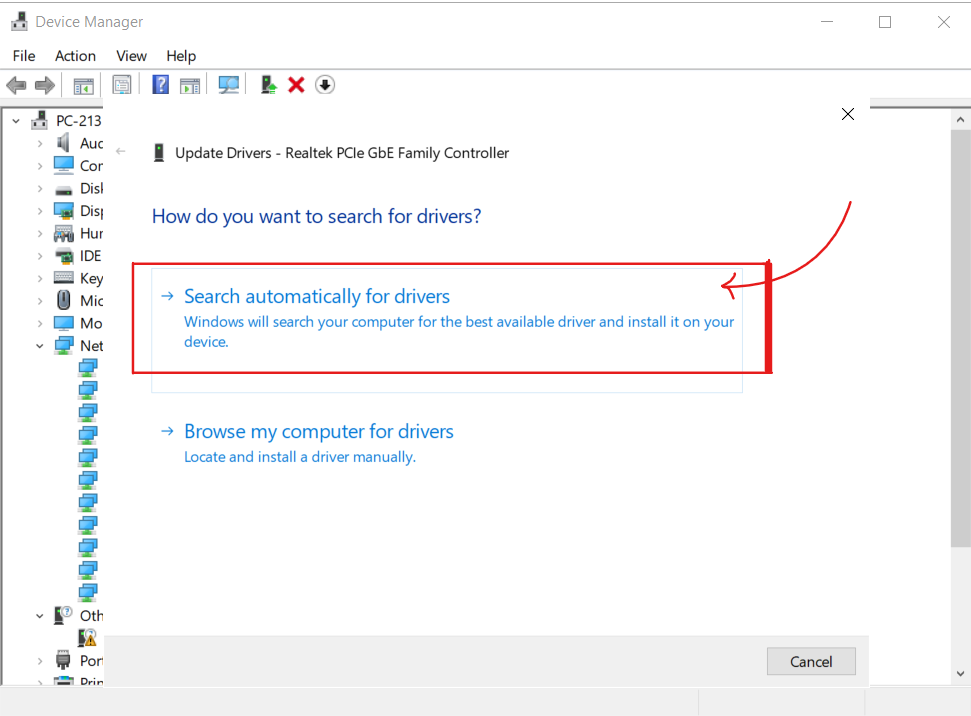
Then Right click on your Wi-Fi Adapter and select “Update driver”.
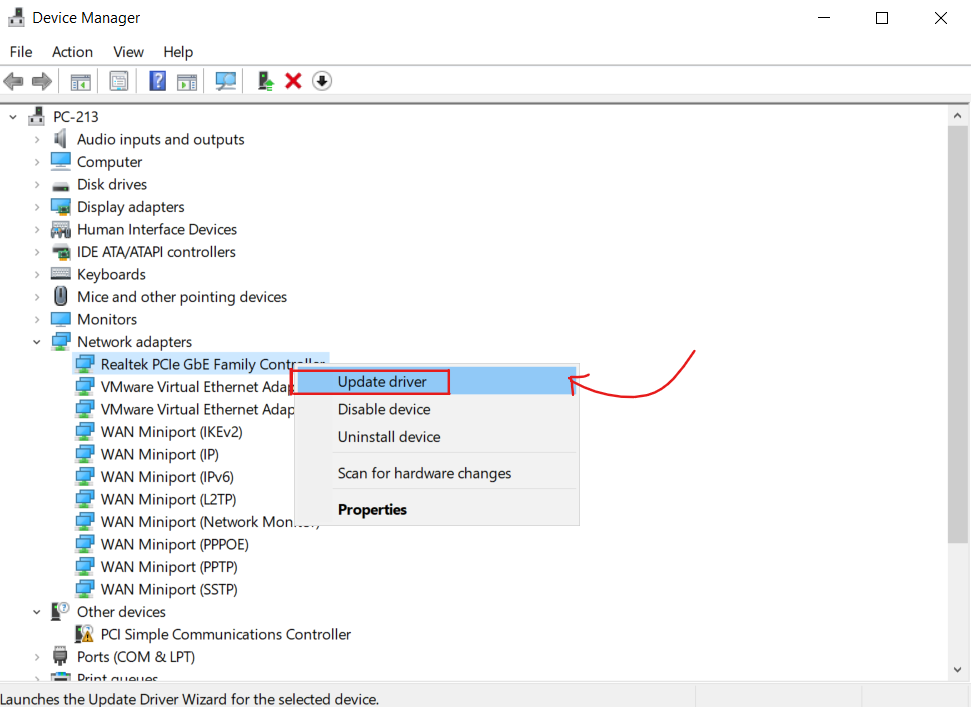
Now, choose “Search automatically for drivers” for updated driver software.
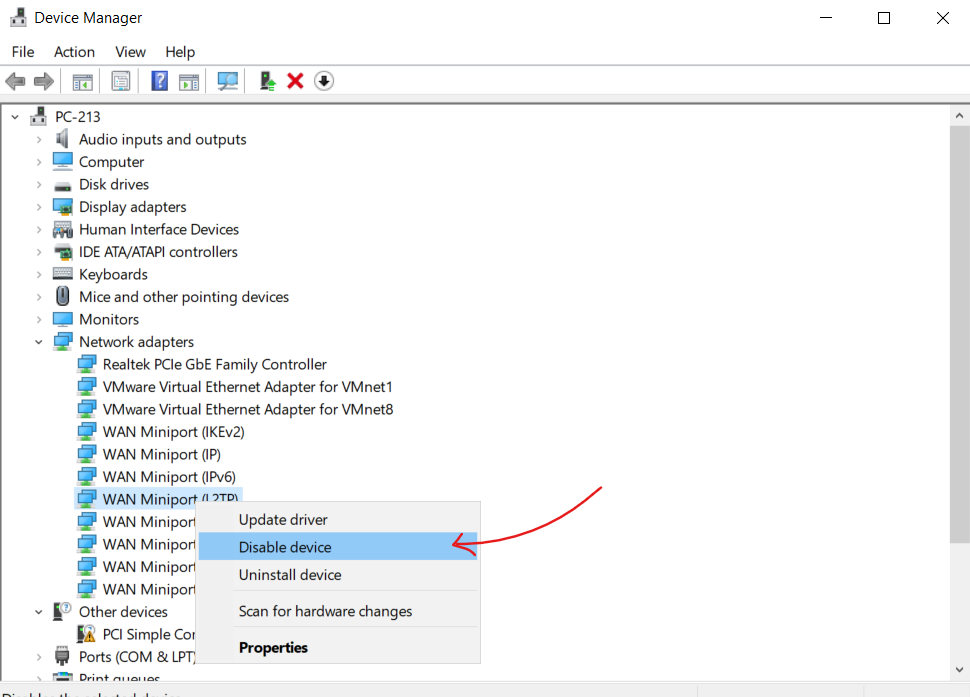
4. Disable and Re-enable Network Adapter
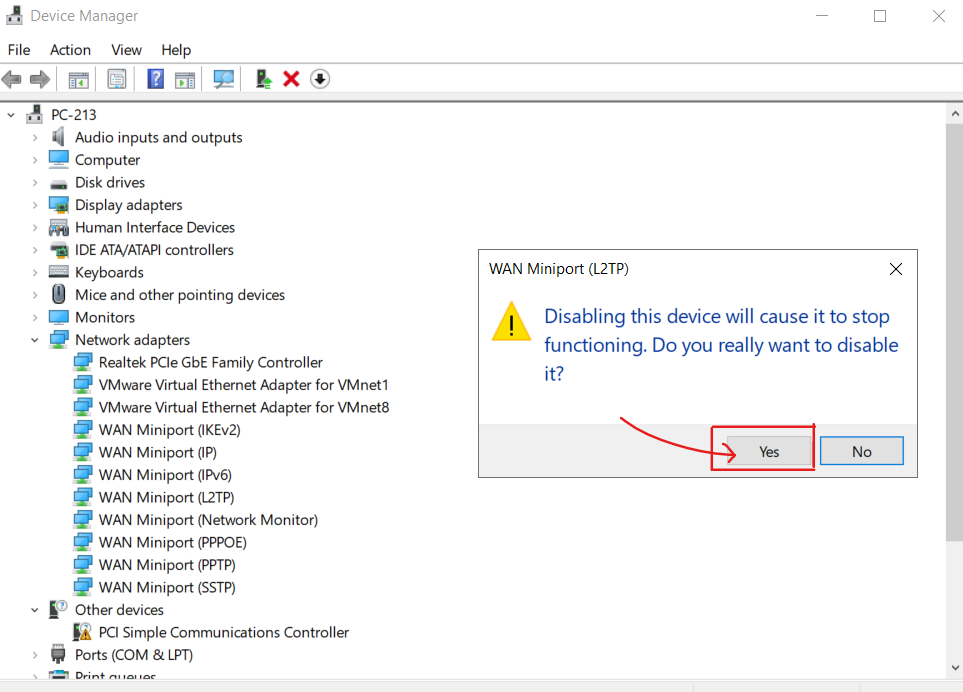
In Device Manager, right click on your Wi-Fi adapter. Select Disable device.
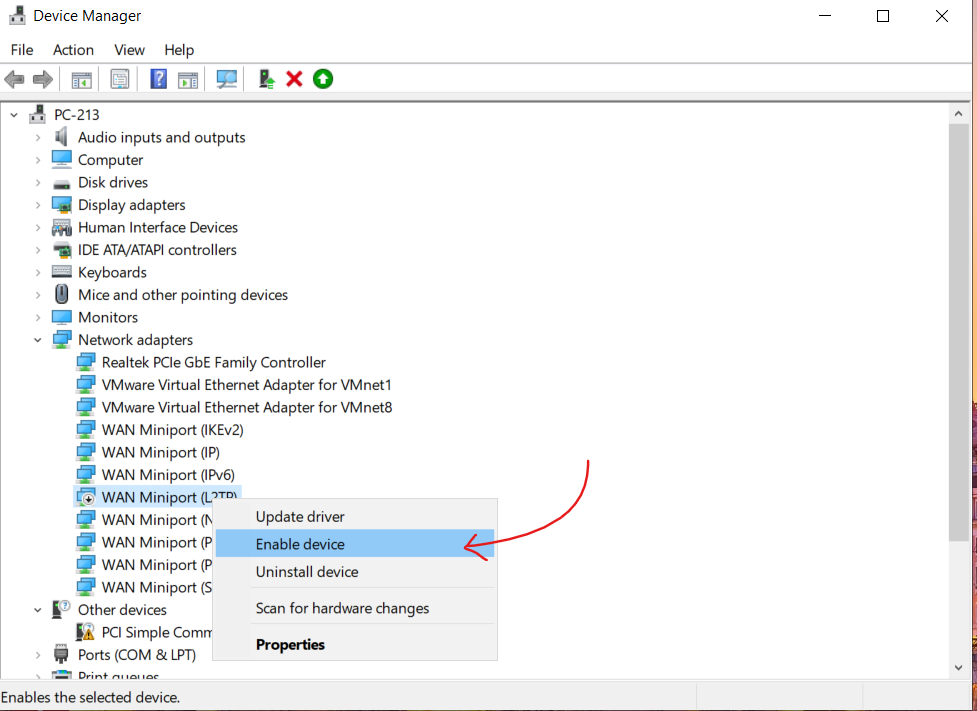
Wait for a few seconds and then again right click on it and select “Enable device”.
5. Run Network Troubleshooter
Go to Windows Settings and open “Update & Security”.

Then select “Troubleshoot” from the left corner.

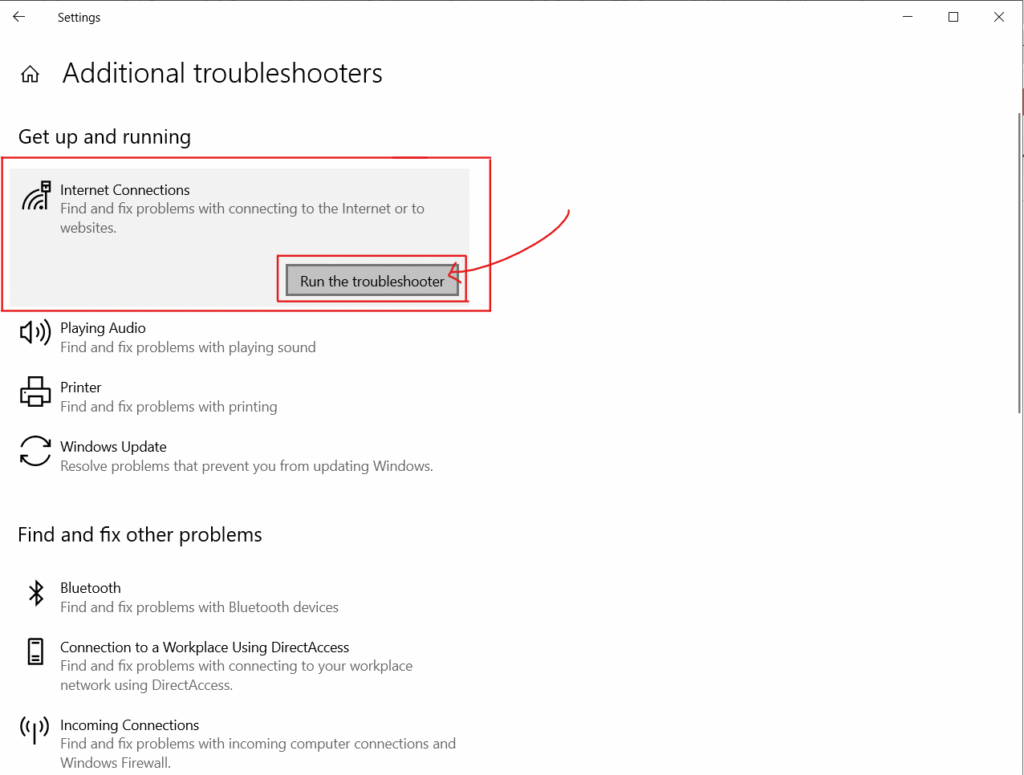
Once you access the Troubleshoot interface, click on “Additional troubleshooters” and then select “Internet connection”.

Now select “Run the Troubleshooter”.
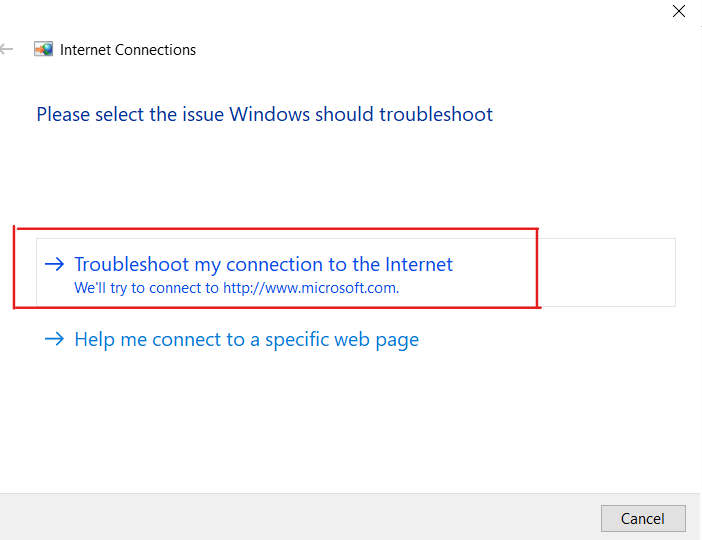
From here follow the on-screen instructions to detect and fix your network issue.
6. Uninstall and Reinstall Network Adapter
Open Device Manager and go to Network adapters. Then right click on the network you want to uninstall. Then select Uninstall device.
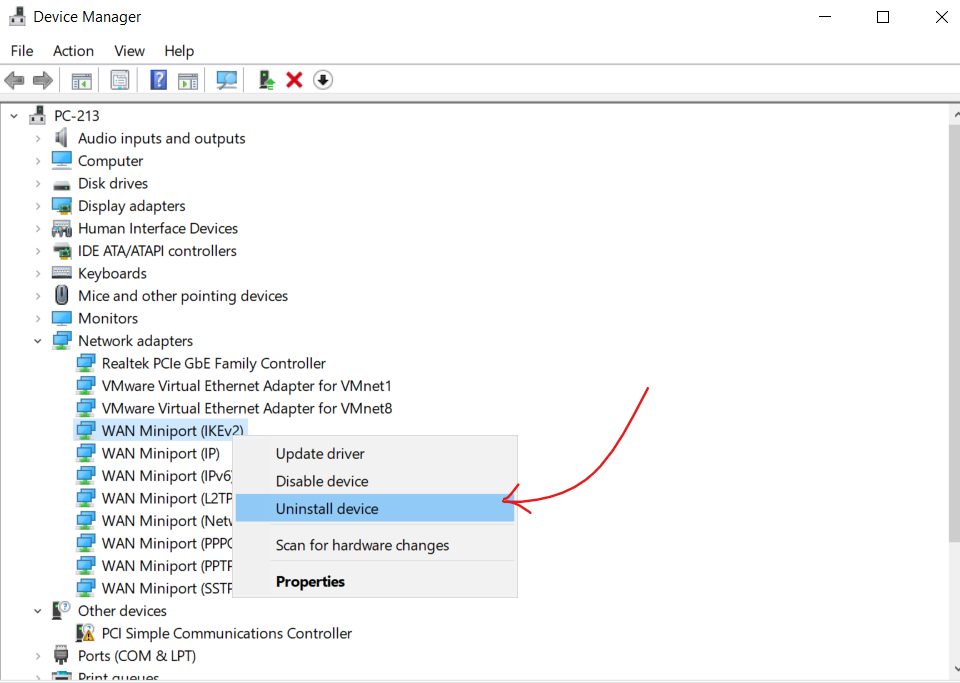
Now restart your computer and Windows will automatically reinstall the driver.
Conclusion
This “Windows 10 can’t connect to this network” error can be caused by several factors, but they might be resolved with these simple yet quick steps that you can try by yourself without any help from a technician. Start with basic ones, like forgetting the network or restarting the system then gradually move forward.