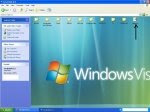
With this simple yet wonderful trick you can set your favorite images as background to the icon area of any of your disk drives.

Step by Step process:
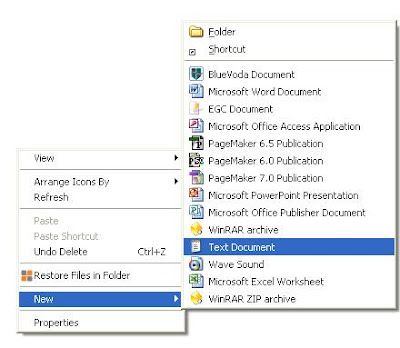
1. Open any of your disk drives and right-click with your mouse to create a new text document.
Step by Step process:
1. Open any of your disk drives and right-click with your mouse to create a new text document.
2. Type the below code in the text document created.(Better copy and paste)
[ExtShellFolderViews]
{BE098140-A513-11D0-A3A4-00C04FD706EC}={BE098410-A513-11D0-A3A4-00C04FD706EC}
[{BE098140-A513-11D0-A3A4-00C04FD706EC}]
IconArea_Image-=
IconArea_Image=path of jpg,jpeg,bmp,gif file
replace “path of jpg,jpeg,bmp,gif file” in the code with the path of the file where your image is located.
For example, if your jpg image is located in g:wallpapers with the name Vista, set the path as g:wallpapersVista.jpg
3. Now save it with the File name desktop.ini and hit Refresh
Note: Make sure to change the Save as type field from Text Document(*.txt) to All Files.
That’s it! Now your favorite image is set as the background. ![]()
follow the same process as given above and let me know if it doesn’t work with windows Vista. Hope it does.