You can find almost all the applications of your use on the Windows App Store. But still sometimes you may require using some of your android smartphone apps on your computer. As we all know Windows computers do not support .APK files by default but there are some workarounds to run android applications on the Windows computer. You can use an emulator for this purpose. Let us find out how an emulator works and which android emulator for PC will be the best for you.
1. Bluestacks Android Emulator for Windows PC
Bluestacks is one of the best android emulators for Windows. It gives you a virtual android tablet kind of interface on which you can install required android applications. Here are the minimum hardware requirements to install this android emulator.
- 2GB of RAM
- Direct X 9.0 or higher
- 4GB of disk space
Here is how you can use Bluestacks android emulator on your Windows computer:
- Download and install Bluestacks emulator from the official website. Here is the link: https://www.bluestacks.com/
- Once you are done with the download process proceed further for the installation. You cannot change the drive it will be installed on the operating system drive by default.
- After the completion of installation, you are required to sign in with your Google credentials. If you have purchased some application and you want to use them on your computer then sign in with the same credentials.
- Go to play store and install the applications you want to use.
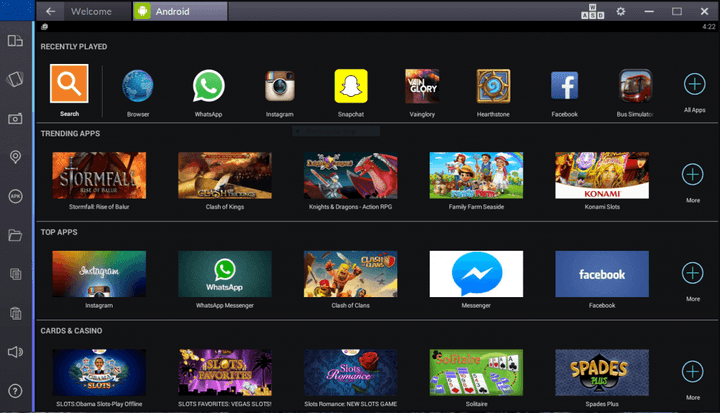 That’s it your virtual android tablet is ready to use. You can enjoy your favorite android apps on it.
Some key features of Bluestacks emulator are:
- You will get a sidebar with almost all the shortcuts you use on your android device with the help of hard keys.
- You can switch to portrait or landscape mode.
- You will get a file transfer tool by using this you can get files from computer copied to the virtual memory of the blue stack.
2. AMIDuOS Android Emulator For Windows
Another best android emulator for Windows is AMIDuOS. You can get free 30-day trial of this emulator. Here are the minimum requirements for installing this android emulator on your Windows PC.
- Intel x86 CPU
- Hardware Virtualization Technology supported and enabled in BIOS
- OpenGL 3.0
- 2GB of hard drive space
- 2GB of RAM, though 3GB recommended for optimal performance
Here is how to download, install & run AMIDuOS Android emulator in Windows:
- You can download and install the emulator from the given link https://www.amiduos.com
- You can choose from Android Lollipop or from Jellybean.
- Once you begin the download process it may download a zip file for you. Unzip the file and proceed further for the installation.
- While installing this emulator make sure that your computer is connected to internet.
- After the installation is complete launch it and 30-day trial will be activated automatically.
 That’s it you got your Android device on Windows PC. Now you can run your favorite Android apps in Windows.
If we talk about some key features then on this Android emulator for Windows PC you can set the amount of RAM emulator going to use. For gestures or screen rotation you can use keyboard shortcuts.
This is how with the help of Android emulator for PC you can enjoy android applications on your computer. Enjoy playing games and text your friends from the large screen and fast keyboard of your PC.